 Help Center
There are options in each W-2 employee’s profile to add garnishments. These funds will automatically be pulled from the employee's wages, and remitted to the correct agency.
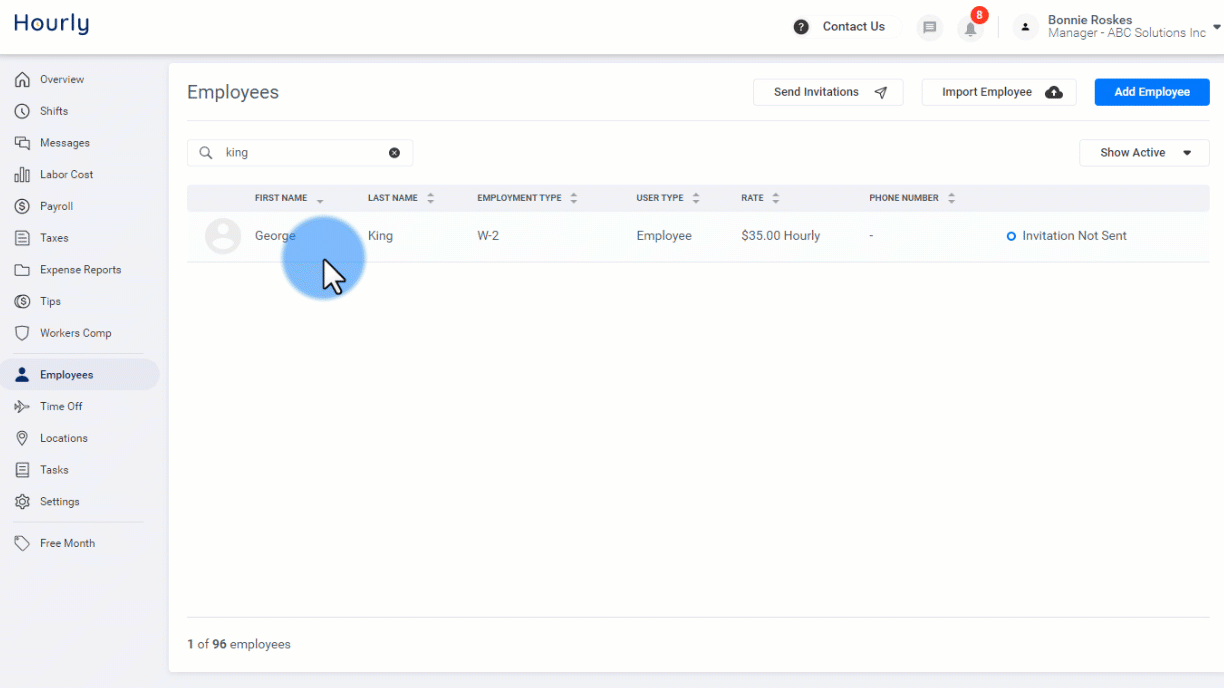
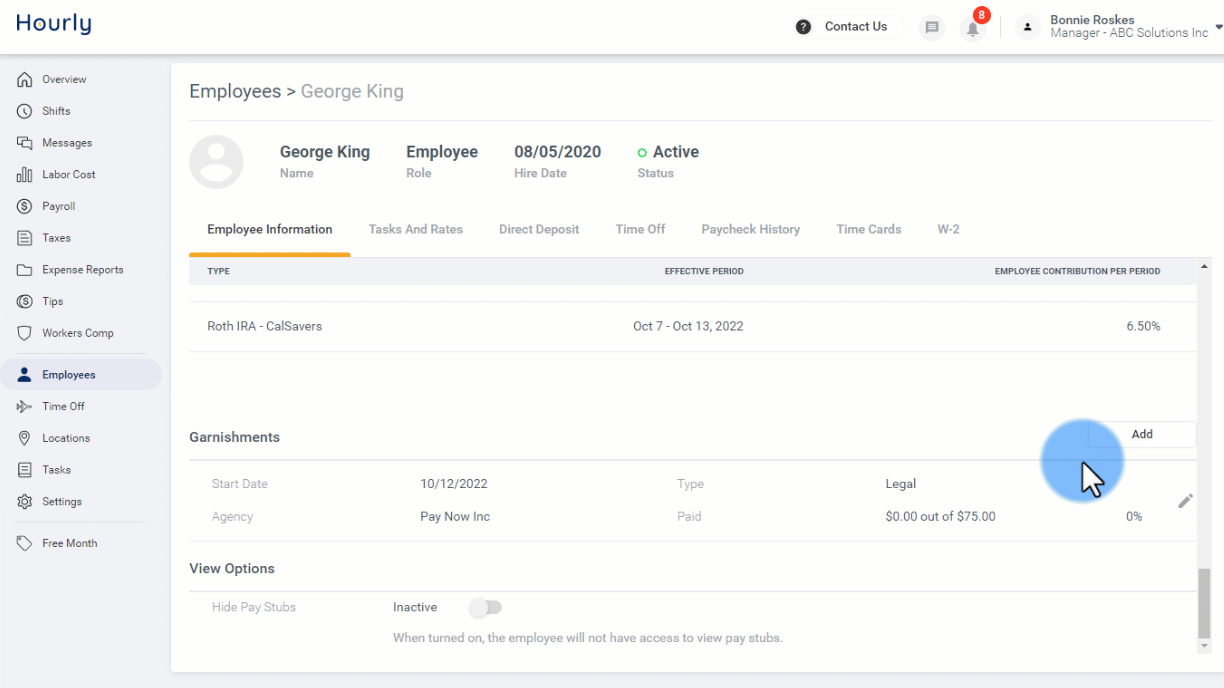
Click Employees along the left, and find or search for the employee you want.
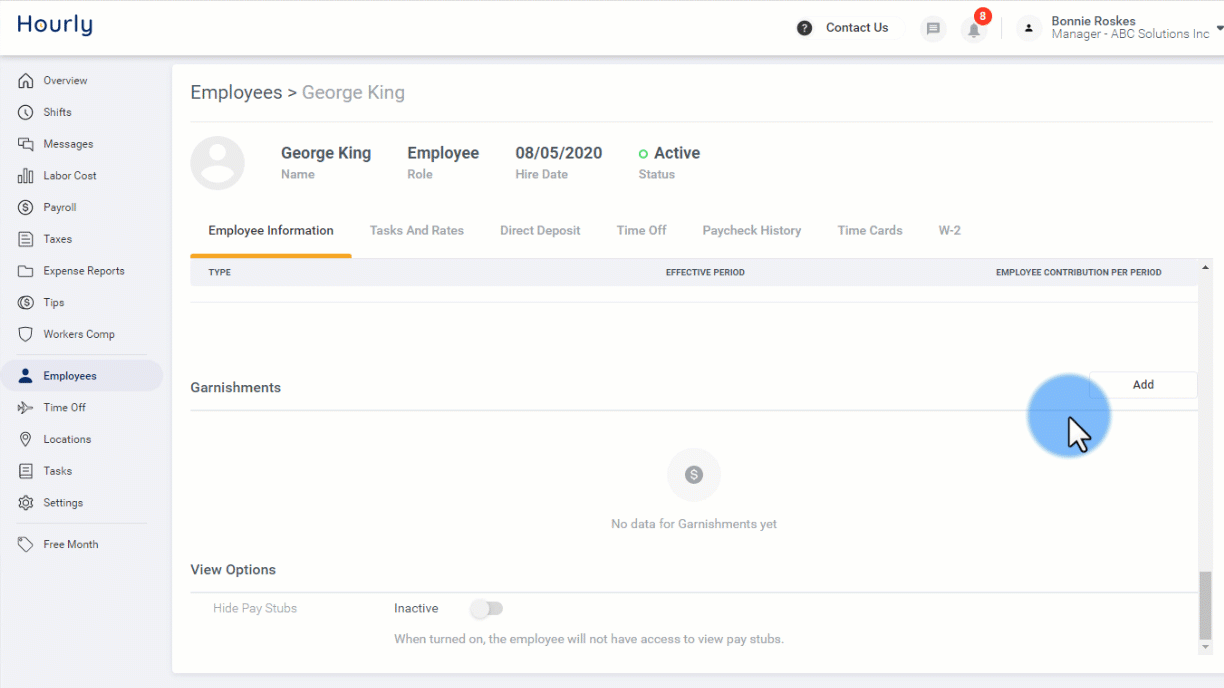
Click the employee to open their profile, and scroll to the bottom of the Employee Information tab, to the Garnishments section.
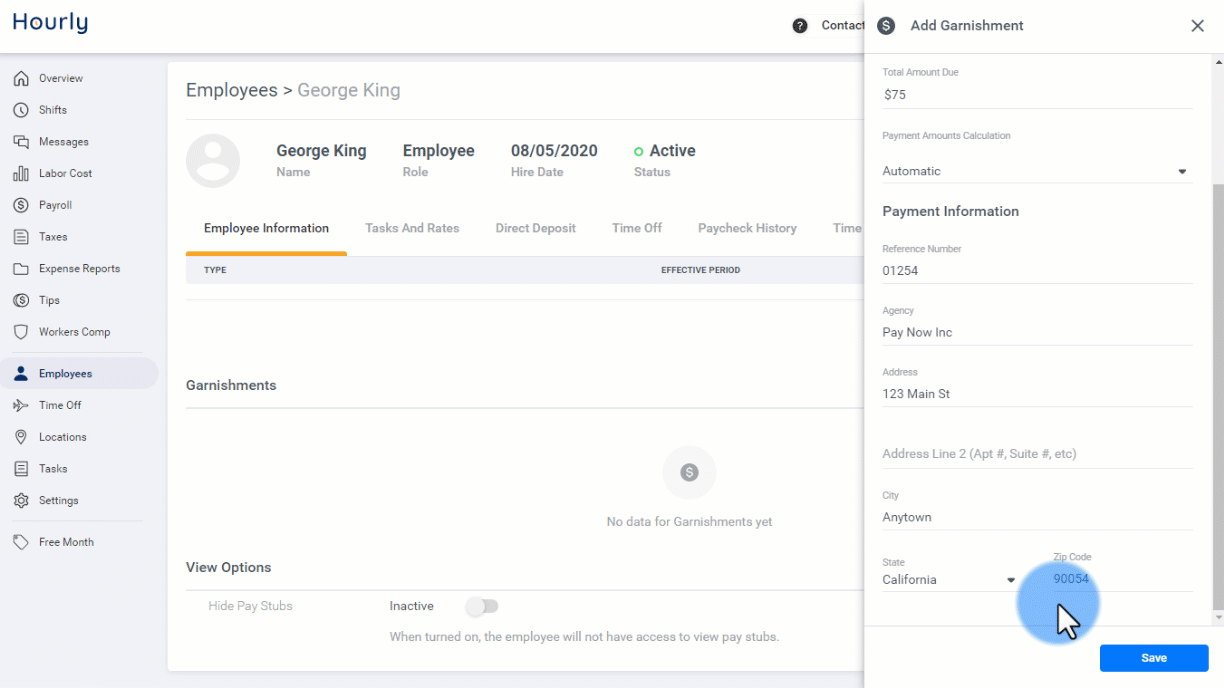
To add a legal garnishment, click Add for that section, and choose Add New Legal Garnishment.
In the Add Garnishment window, enter all required details, including amount, whether the payment is automatic based on the original legal order or custom, and complete the payment information including reference number and agency contact details.
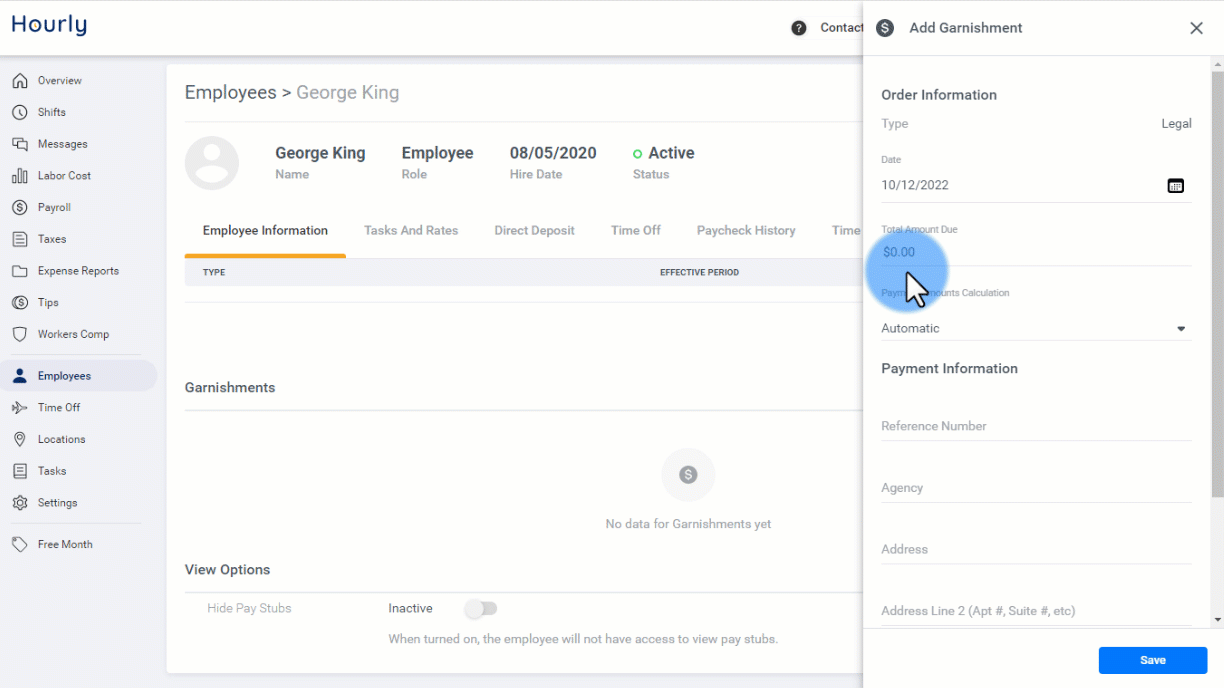
Click Save, and the legal garnishment is added to the list.
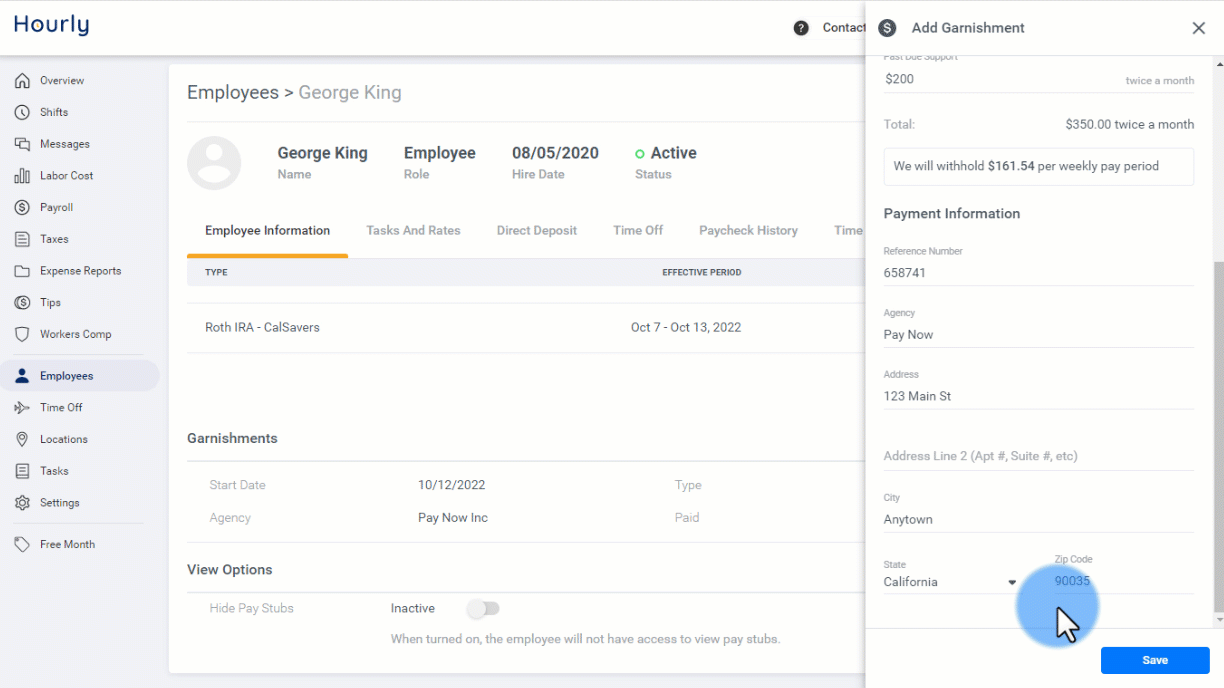
To add a child support garnishment, click the same Add button, and choose Add New Child Support Garnishment.
In the Add Garnishment window, enter the payment cycle and support amount, any past-due support, and payment information including reference number and agency contact details.

Click Save, and the child support garnishment is added to the list.
To edit or remove a benefit, click it to open the window with details. Make your changes and save, or use the Delete icon.
